Showing posts with label t-shirt. Show all posts

9.09.2015

t-shirt quilts, part DUEX

From where we last left off, I had finished stitching together all of the t-shirts into two lovely quilt tops. I hate to say but I barely documented part DUEX in pictures. I was sew busy. Heh. … ok, lame joke.
SO! Choosing a batting… You want to be sure that you find one that matches the project that you’re working on. A flatter, less puffy batting is great for quilts that you want to be… well, flat and less puffy. Especially ones with intricate designs. I chose a really nice medium puff batting, because of two reasons. 1) The t-shirts and backing material had a little stretch to them. The puffiness of the batting would help this irregularity when I stitched it together. 2) WHO DOESN’T LIKE PUFFY QUILTS? You? Well, you're un-American.
PUFFY!
Luckily, the backing fabrics that I chose for both quilts were W-I-D-E as H-E-L-L. So I didn’t need to stitch two pieces of the backing together. To cut the backing and the batting to size, here is the easiest thing to do: Find a floor. Put the backing fabric on the floor, and secure it with masking tape so it stays put. Next, lay the batting on top, followed by the quilt top. Secure all that shiz together with long quilting pins or safety pins. (I use quilting pins... I have no tolerance for safety pins, plus they're too bulky.) Lastly, cut the backing and batting about 6” bigger than the quilt top. This gives you a safe zone in case you f*** up.

Here’s the tricky and painful part. You will now stick yourself with so many pins. SO. MANY. And not just on your hands. The quilt literally lays on your lap while you’re trying to machine stitch it. It’s like trying to lay down with a needle filled blanket. Very ouchI start by machine stitching the long columns of the quilt. Then, stitch the rows. Since the rows are irregular, I usually will pick up the needle and foot, move to the beginning of the next row, and sew on. 

turns out, it's a real thing.
Next comes the binding… Binding is tricky, but once you get the hang of it, it’s… just less tricky I guess. I cut a continuous piece of fabric 2.25” wide, press it in half, then sew the raw edges to the edge of the quilt top. You then cut off any excess batting and backing fabric…. Then you have to hand stitch everything shut. It takes a LONG TIME. And your hands will not thank you. But it’s worth it, especially with wine that you CANNOT SPILL ON THE QUILT. If you're a spiller, then put your wine in one of those toddler sippy cups.

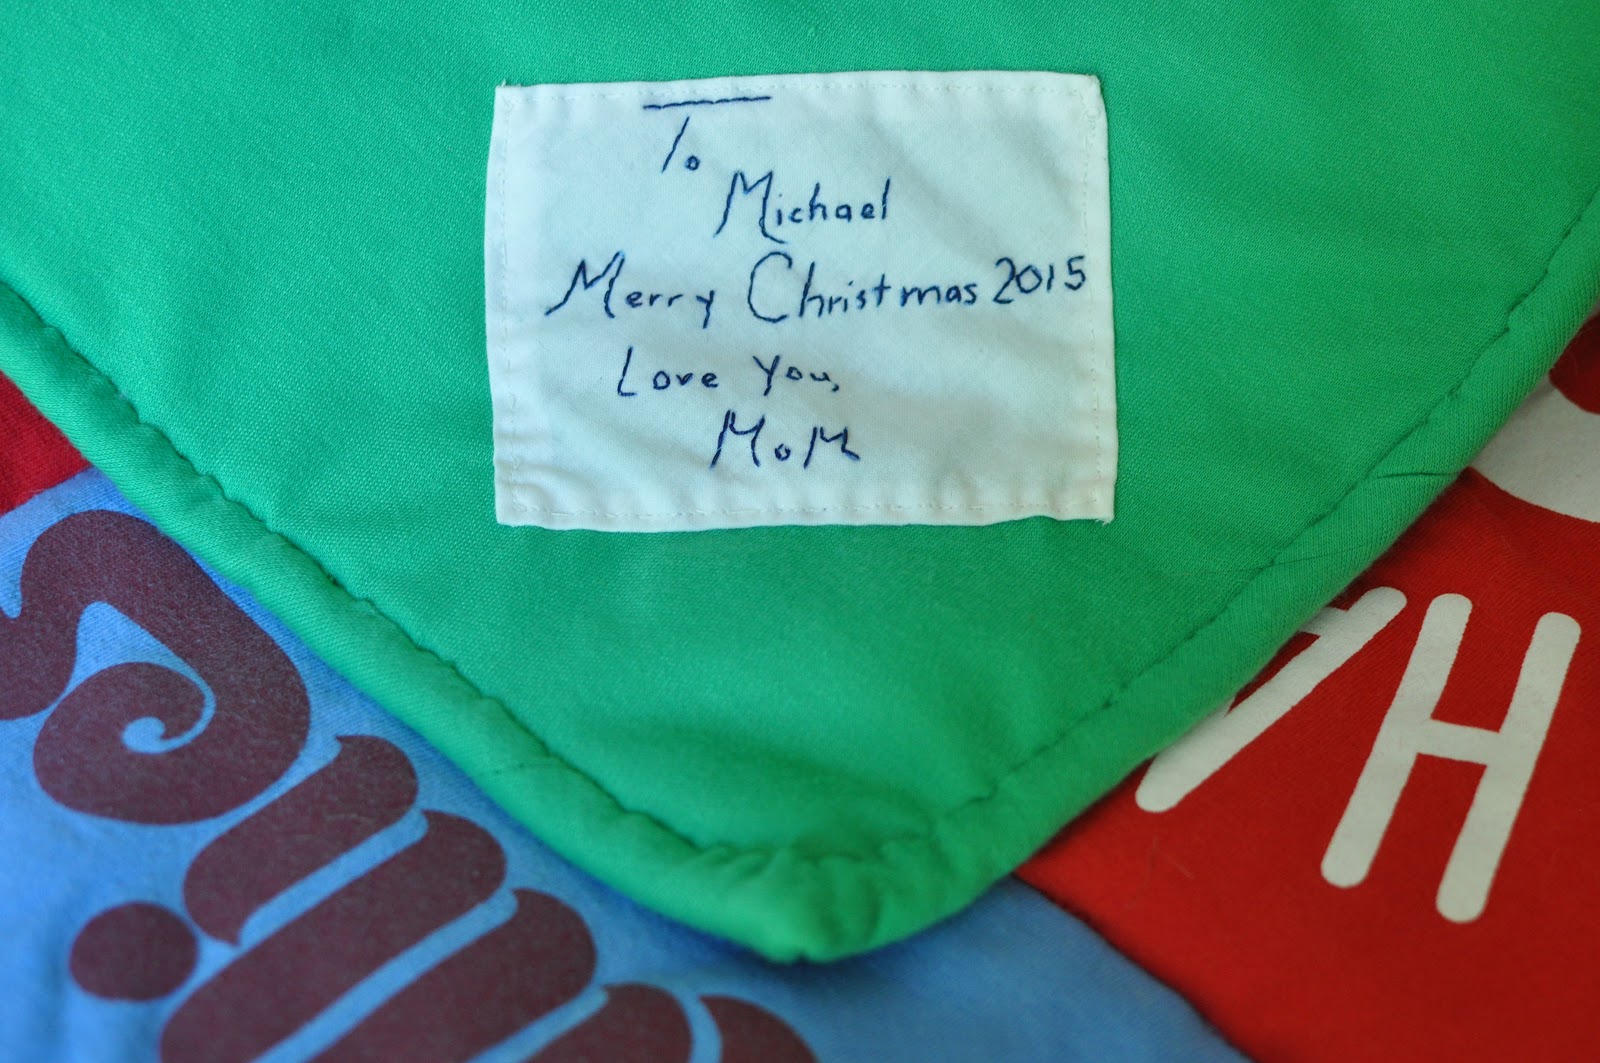
To add a personal touch, I asked my friend to send me (in her writing) a message for each of the quilts. I printed it out, then used graphite paper to transfer her message to white fabric. I then hand stitched her message and sewed this on to each quilt. So that’s it! Two quilts finished. I hope they surround their new owners in years of love and comfort. It was such a cool project, I’d be totally willing to do more of them in the future!!! 
 

7.18.2015

t-shirt quilts, part 1

A friend of mine asked me to make two t-shirt quilts for her sons. One is in a Phillies motif, the other is Flyers. Quilts are fun to do, but they can be difficult if you don't choose the right materials. T-shirts: You cannot just sew them together. You have to use fusible interfacing to stabilize the stretchiness... if you don't, you'll end up with a bunch of stretched out-crazy looking t-shirts that you'll want to burn instead of cuddling up with.

The first thing you need to do with t-shirts is cut out the BS. So, that means cutting out the front of the shirt and the back, and tossing away the sleeves and seams. Then you have to measure the width of the actual design on the t-shirt... This will help you organize the shirts into columns. For the two quilts that I'm doing, each one has column widths of 11", 12", 13" and 14". Once you organize everything into columns, you have to determine what length each shirt will be... then you're ready to cut everything out. Straight edges are keeeeeeeeeey in this step! If you don't have a perfect right angle, your quilt will be wonky. Keep some of the excess shirt scraps... you might need some later on.

Once everything is cut out, set yourself up in front of the TV and pour yourself a glass (or two) of wine, because it's time to iron on the fusible interfacing. Like I said, it'll keep the fabric stabilized when you sew everything together! Then the fun begins... arrange allllll yo' shirts in their columns, and start sewing errrything together! Be sure to always press the seams open with a hot iron, this will ensure that the quilt lays flat n' lovely.
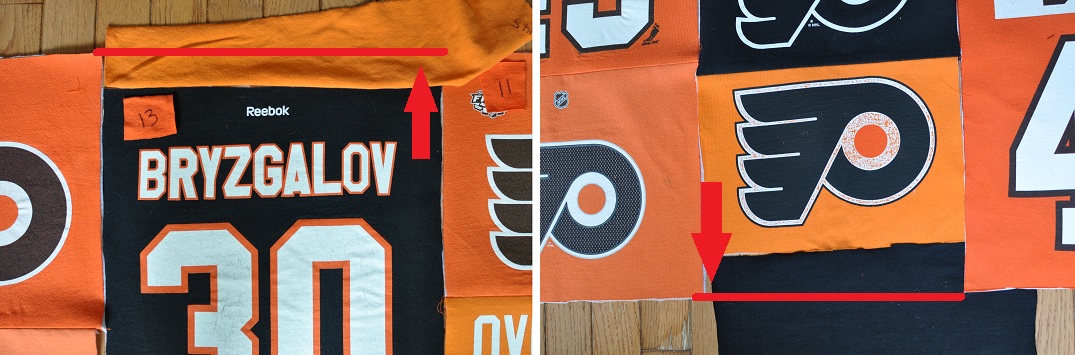
Remember some of those scraps you saved? If your quilt is too short in some areas, cut out scraps in that size and fuse the interfacing to it: Then stitch to the quilt so it's the correct length!
NEXT UP! Cutting out the backing fabric, choosing a batting and assembling everything together.